2.0 KiB
❓ About
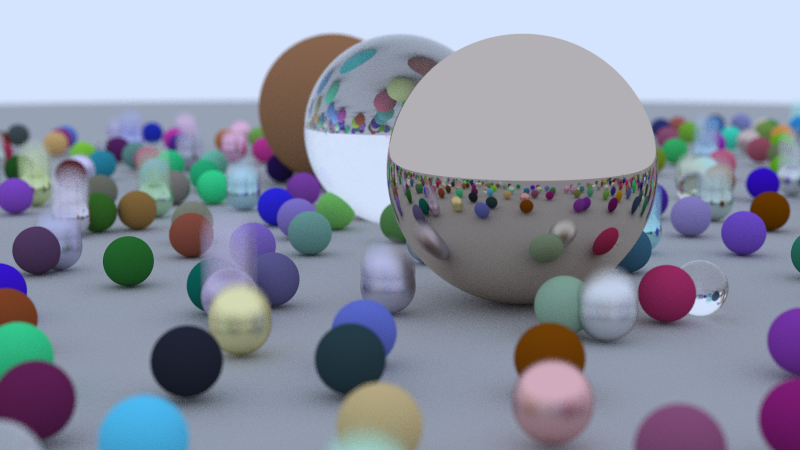
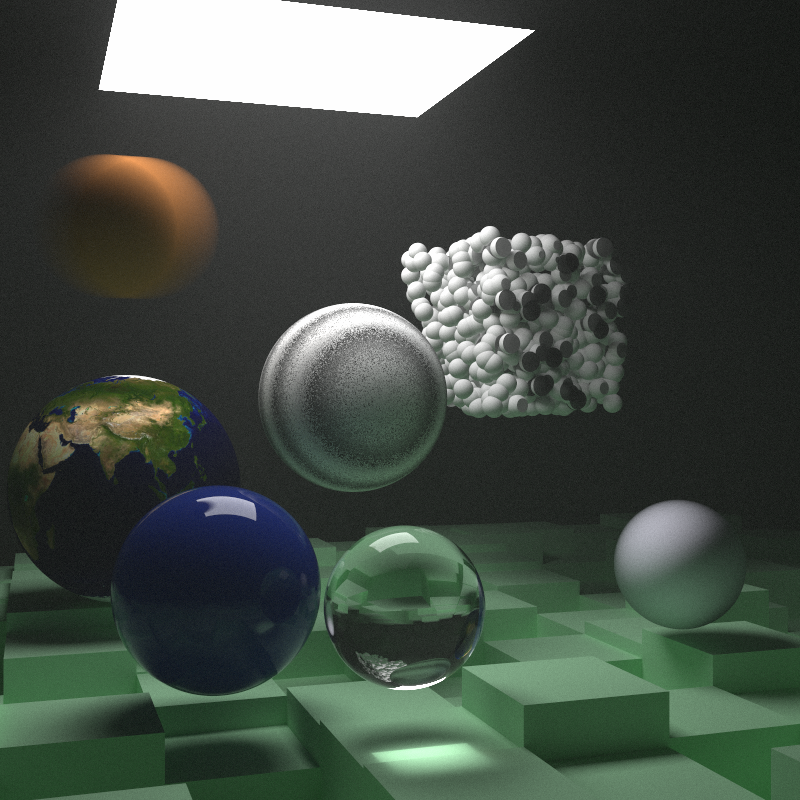
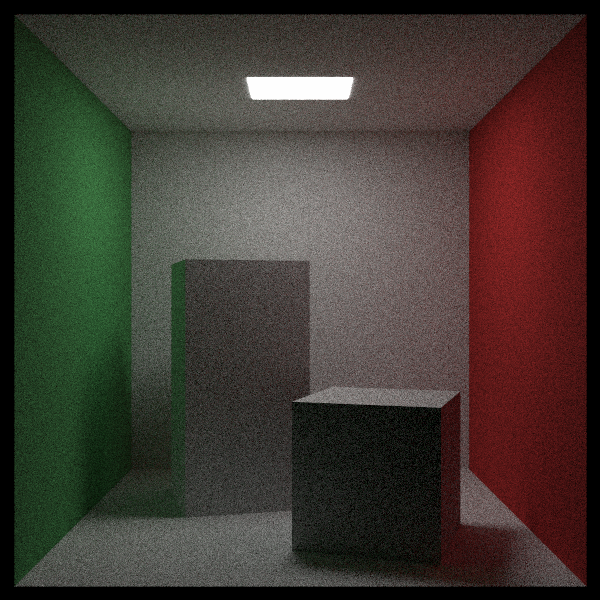
This is a project where I learn how a raytracer works by building one. To accomplish this, I will be following along a few books, in particular the Ray Tracing in One Weekend series.
The output of this programme is a PPM file that contains the rendered image.
📸 Screenshots
🛠️ Building and Running the Code
To run this code, you'll need to build it as it uses CMake. To build it, go to the root directory in the terminal and run the commands:
-
cmake -B build -
cmake --build build
The
cmake --build buildcommand should be run whenever a change is made to theCMakeLists.txtfile in the build directory.
To run the code, you run the command:
- Windows:
build\Debug\Raytracer.exe > image.ppm - Mac and Linux:
build/Raytracer > image.ppm
Optimised Builds
This build option is to render faster.
For Windows, run this command to optimised build:
cmake --build build --config release
And to run the build:
build\Release\Raytracer.exe > image.ppm
For Mac or Linux, run these commands to obptimise build for the fastest results:
-
cmake -B build/Release -DCMAKE_BUILD_TYPE=Release -
cmake --build build/Release
And to run the build:
build/Release/Raytracer > image.ppm
You'll need an image viewer to view the PPM file. I used feh.
📜 To Do
A list of things I wish to implement:
- Triangles


